
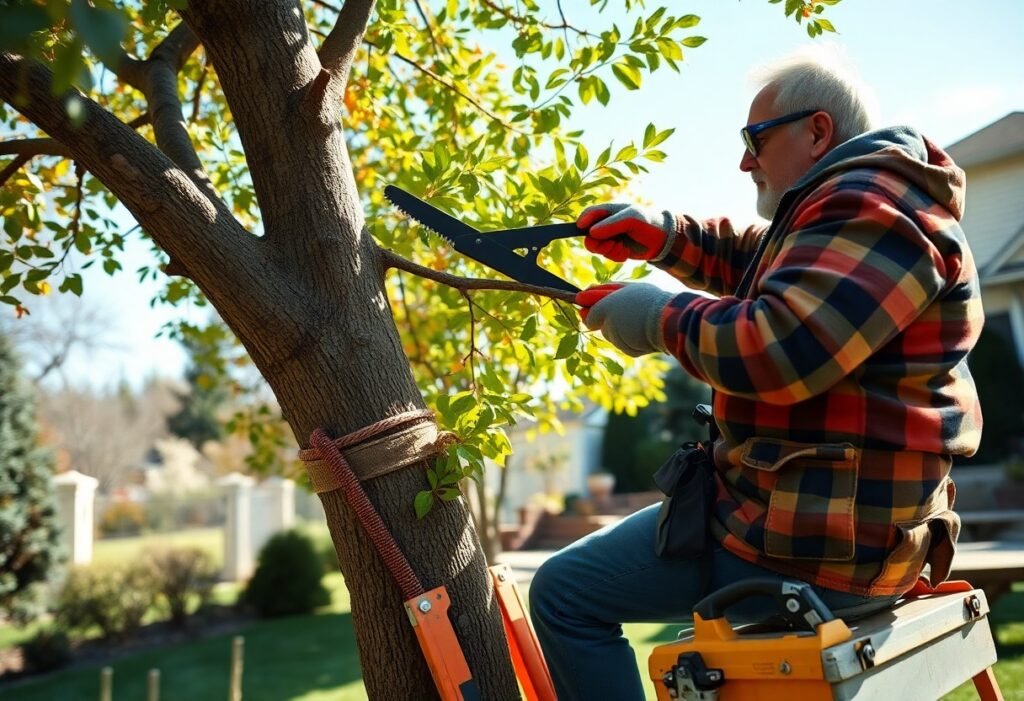
Most homeowners overlook the biological impact of improper pruning, treating it as simple yard work rather than a critical aspect of tree health. You interact with living organisms when shaping branches, and a single misguided cut can invite disease, weaken structure, or shorten a tree’s lifespan by decades. Understanding the fundamentals before picking up a tool ensures your actions support longevity, safety, and natural form.
The Selection of Tools
Choosing the right tool begins with the branch diameter and tree species. Hand pruners work well for stems under half an inch, while loppers handle growth up to an inch and a half. For thicker limbs, a folding saw with replaceable teeth cuts cleanly without tearing bark. A mid-sized SaaS firm managing its own server updates might prioritize precision tools just as you must match equipment to task demands.
Quality outweighs convenience when durability and safety are at stake. Bypass-style pruners, which operate like scissors, make smoother cuts than anvil types and reduce damage to plant tissue. Keep a dedicated toolkit in a dry container, organized by function, so each tool remains accessible and in working order.
Sharpening the Steel
Sharp edges reduce effort and improve cut accuracy, minimizing stress to the tree. A ceramic rod or small file maintains the beveled edge of bypass pruners after every few uses. Dull blades crush rather than slice, creating wounds that invite pathogens. Regular honing preserves the tool’s performance and extends its service life.
Angle consistency matters during sharpening-follow the original bevel to avoid metal fatigue. A quick stroke along the blade’s edge realigns the edge without removing excess material. Test sharpness by trimming a thin twig; a clean cut with minimal pressure indicates readiness.
Cleaning the Blades
Resin and sap buildup dull blades and harbor disease between cuts. Wipe tools with a cloth dampened in isopropyl alcohol after each use, especially when moving between trees. This simple step prevents the transfer of fungal spores or bacterial infections. A clean blade also glides more easily through wood.
For stubborn deposits, use a soft brass brush to dislodge debris without scratching the metal. Avoid soaking tools in liquid, which can degrade handles and springs. After cleaning, apply a light coat of machine oil to protect against corrosion during storage.
Disinfecting between trees becomes crucial when pruning during wet seasons or in areas with known disease presence. A gardener tending a row of Japanese maples previously affected by anthracnose would clean blades between each specimen to avoid cross-contamination. This practice is as routine as handwashing in clinical settings and just as effective when consistently applied.
The Season for the Blade
Winter Dormancy
Pruning during winter dormancy gives you the clearest view of a tree’s structure, as bare branches reveal crossing, weak, or inward-growing limbs. Most deciduous trees are fully dormant between late fall and early spring, making this window ideal for structural cuts that shape long-term growth. A mid-sized SaaS firm managing its campus landscaping, for example, schedules all major pruning in January to minimize disruption to both tree health and employee access.
Avoiding the Sap Flow
Maple, birch, and walnut trees bleed sap heavily if pruned in late winter or early spring as temperatures rise. Though this flow rarely harms the tree, excessive sap loss can weaken smaller specimens or attract pests. Cutting just before bud break avoids prolonged weeping and supports faster wound closure.
Timing your cuts before the vascular system activates prevents unnecessary stress. For maples, pruning in late fall after leaf drop but before deep freeze reduces sap flow more effectively than waiting until thaw periods begin.
Identifying the Wood
Dead and Broken Branches
Dead branches appear brittle, often with peeling bark and no buds or leaves. You can confirm their status by scraping a small area of bark to reveal dry, discolored wood beneath. Broken limbs pose immediate risks and should be removed promptly to prevent disease entry or further structural damage. A mid-sized SaaS firm managing its own campus landscaping once delayed removal, resulting in fungal spread to adjacent healthy limbs.
Crossing Limbs
Limbs that rub against one another create wounds from constant friction, inviting pests and decay. You should inspect the canopy for these points of contact, especially in mature trees where growth has narrowed spacing. Select the weaker or more poorly positioned limb for removal to preserve structural integrity.
One maple in a suburban yard developed a deep canker after years of unchecked limb rubbing, requiring extensive pruning to halt deterioration. Removing one of the crossing branches early would have redirected energy to stronger growth and avoided the issue.
The Proper Cut
Positioning your cut correctly ensures the tree can heal without inviting decay. You must avoid cutting into the branch collar, that slightly raised area where the branch meets the trunk, as it contains cells specialized in sealing wounds. Slicing flush with the trunk removes this protective tissue and weakens the tree’s natural defense.
Angle matters just as much as location. A cut angled away from the branch collar allows water to run off and discourages rot. Misplaced cuts, even by an inch, can lead to long-term damage, especially on species like oaks or maples that are sensitive to improper pruning.
The Branch Collar
The branch collar is a swollen ring of tissue at the base of every healthy branch. It produces chemicals that block pathogens and close off the wound after a proper cut. Removing it exposes the trunk to infections that can spread inward over time.
Look for the collar’s distinct texture and color, often darker or rougher than the branch bark. Preserving it is non-negotiable for tree health, particularly in mature specimens such as a 20-year-old dogwood or a large elm.
The Three-Cut Method
Heavy branches require a staged approach to prevent bark from tearing down the trunk. Make an initial cut on the underside, about 12 to 18 inches from the trunk, slicing a third of the way through. This relieves weight gradually and stops the limb from splitting during removal.
Follow with a second cut from the top, a few inches beyond the first, allowing the branch to fall cleanly. Finish with a final cut just outside the branch collar, removing the stub without damaging the trunk’s protective zone.
Using the three-cut method on a thick, downward-sloping limb from a red maple prevents jagged wounds that could invite fungal entry. The process takes slightly longer but results in a clean, biologically sound closure over the following growing season.
Safety in the Garden
Working with trees demands awareness of your surroundings and the tools in your hands. A momentary lapse near a spinning chainsaw or overhead branch can lead to serious injury. Always inspect your equipment before use, ensuring guards are in place and blades are secure. Keep children and pets at a safe distance during operations, and never work under wet or windy conditions that compromise stability or visibility.
Communication matters when others are nearby. Establish clear signals with a helper when operating loud machinery or working at height. Wear sturdy footwear with slip-resistant soles to maintain footing on uneven or mulched ground. Store fuel and chemicals in labeled, sealed containers away from direct sunlight and living spaces.
Stable Ladders
A ladder that shifts or wobbles increases the risk of falls during pruning. Use a tripod orchard ladder on soft ground, as its three legs adapt better to uneven terrain than standard A-frame models. Always place the base on firm, level soil and avoid leaning it against weak or flexible branches.
Have a helper foot the ladder by standing at the base and applying downward pressure. This simple step prevents backward tipping when reaching overhead. Maintain three points of contact-two feet and one hand or two hands and one foot-while ascending or making cuts near the top.
Protecting the Eyes
Wood chips, dust, and snapped twigs pose real threats to your vision during pruning. Wear ANSI-rated safety goggles that form a seal around the eyes, blocking debris from all angles. Regular eyeglasses do not offer sufficient protection against high-velocity particles.
Choose anti-fog coated lenses to maintain visibility during extended work sessions. Replace scratched or damaged goggles immediately, as compromised lenses impair depth perception and increase accident risk. A mid-sized landscaping crew once reported a 60% drop in eye-related incidents after mandating sealed safety goggles on all tree jobs.
Respecting the Living Timber
Every cut you make alters the tree’s physiology, triggering a cascade of biological responses. Trees do not heal like animals; instead, they compartmentalize damage, sealing off wounded tissue to resist decay. This natural defense is known as CODIT, and it determines how well a tree survives after pruning.
Knowing the Limit
No more than 25% of a tree’s canopy should be removed in a single growing season. Exceeding this threshold stresses the tree, reducing its ability to photosynthesize and increasing susceptibility to pests. A mature oak, for example, can take years to recover from excessive thinning.
Post-Cut Care
After pruning, monitor the cut sites for signs of callus formation, where the tree begins to close over the wound. Avoid applying sealants or paints, as these often trap moisture and hinder natural closure. Healthy cambium will gradually grow over the exposed area.
Inspect the surrounding bark for discoloration or oozing sap, which may signal infection. A mid-sized SaaS firm managing its campus landscaping once lost three elms due to sealed cuts that masked fungal entry. Observation, not intervention, supports recovery.
Conclusion
Pruning your trees is a direct act of stewardship, shaping both their form and future health. You influence growth patterns, sunlight penetration, and disease resistance with every intentional cut. A clean cut just outside the branch collar of a young maple, for example, heals faster and reduces decay risk. Your consistent attention to timing, technique, and tool care ensures each intervention supports the tree’s natural resilience. Proper pruning is not aggressive trimming but precise, informed action that aligns with the tree’s biology.
Over time, your efforts contribute to stronger branch unions, reduced storm damage, and longer lifespans for the trees on your property. An established oak managed with selective thinning maintains structural integrity while allowing airflow through its canopy. Your role extends beyond aesthetics: you help sustain urban forests one thoughtful cut at a time. The health of your landscape depends on this quiet, ongoing commitment to correct practice.